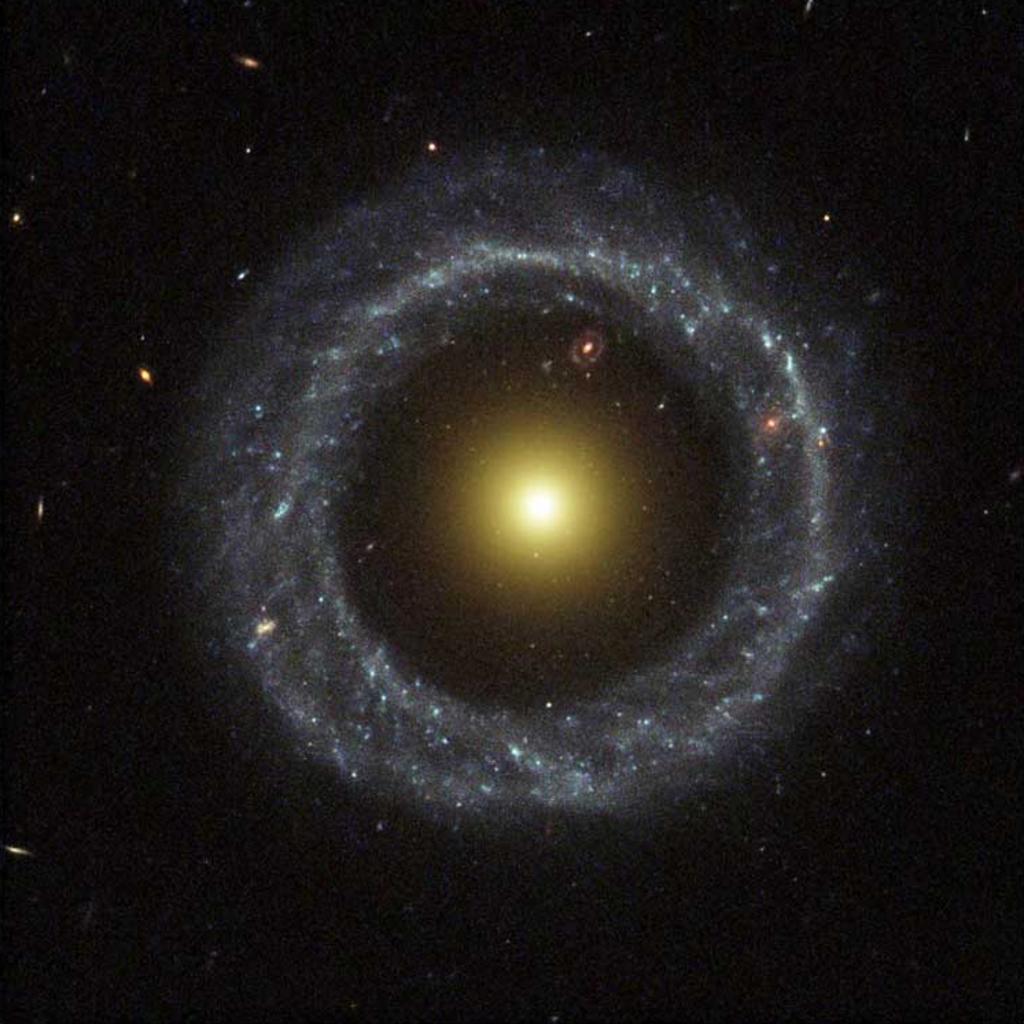
- Hoag's Object
- billboard.png (1024x1024, 2.4MB)
- billboard-1k.jpg (1024x1024, 100KB)
- hoag-1k.dds (1024x1024, 1.4MB, DXT3)
- hoag-2k.dds (2048x2048, 5.5MB, DXT3)
- billboard.3ds (1KB)
-
This is the 100x100x1 "billboard" mesh described
above. Its texture has
not been changed. It specifies the texture map
billboard.png. Rename an appropriate PNG image or edit this mesh file to use a different picture. billboard.dsc#Hoag's Object Nebula "Billboard" { Mesh "billboard.3ds" Axis [-0.293399 0.89844 0.326684 ] Angle 165.499 Distance 6.0e+8 RA 15.3208 # 15h 17m 17s Dec 21.57917 # 21deg 34' 45" Radius 60000 InfoURL "http://heritage.stsci.edu/2002/21/table.html" }
After you've installed these, your directory structure should look something like this:
[-] Celestia130
    --- data
    [-] extras
     |  [-] addons
     |      [-] billboard
     |           -- billboard.dsc
     |          --- models
     |               -- billboard.3ds
     |          [-] textures
     |              --- medres
     |                   -- billboard.png
    --- models
    [+] textures
For an explanation of why your directories should be organized like this, please see- A (not so) Brief Introduction to Add-Ons (2nd edition)
| Image | Comments |
|---|---|
![[billboard image]](billboard.jpg)
Billboard Image: Hoag's Object |
Note that this image is slightly fainter than the primary layer of the
texture below.
|
![[billboard texture]](billboard.png)
Billboard Surface Texture: Hoag's Object |
These texture maps were derived from a Hubble
picture.
See the acknowledgements below.
|
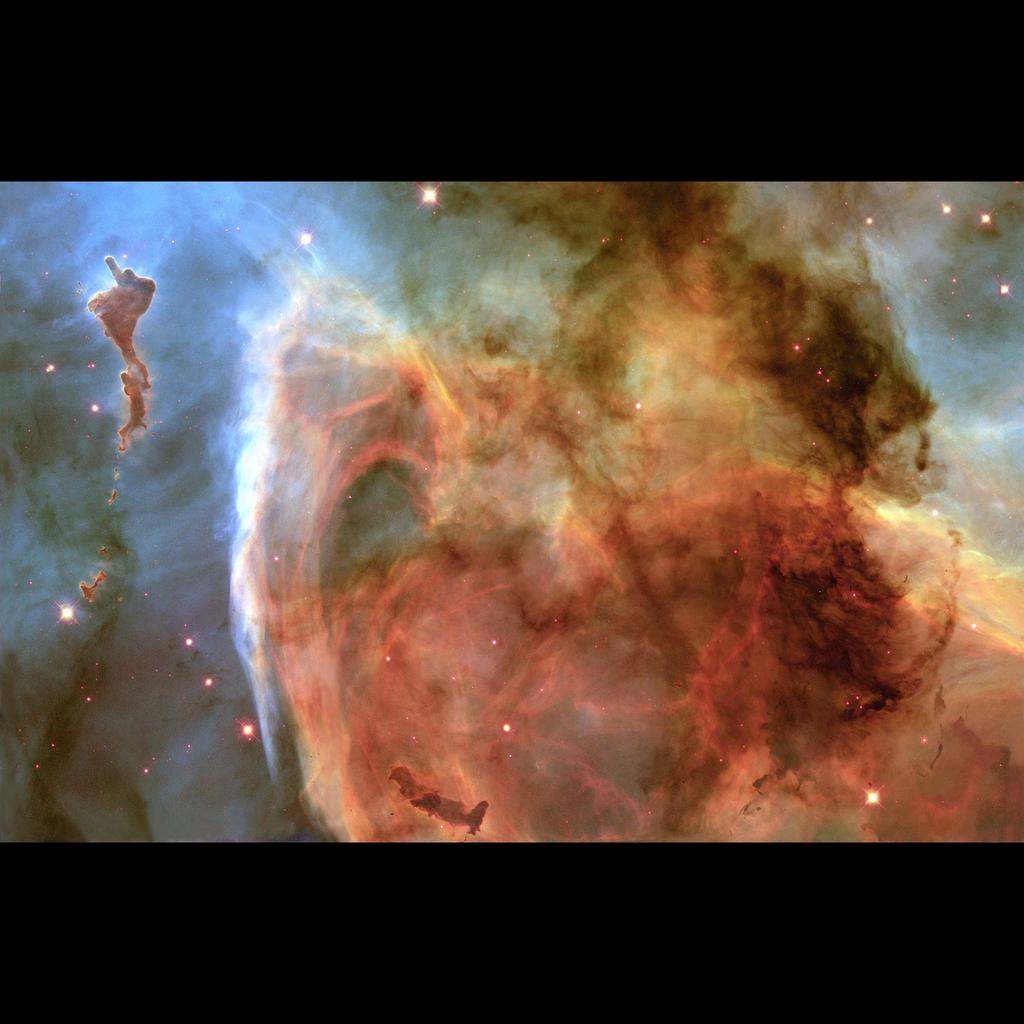
5.2: Eta Carina Nebula (detail)
- carina-1k.jpg (1024x1024, 84KB)
- carina-2k.jpg (2048x2048, 333KB)
- carina-2k.dds (2048x2048, 5.5MB, DXT3)
- carina.3ds (1KB)
-
This is the same 100x100x1 "billboard" mesh described
above. Only its texture has
been changed. It specifies the texture map
carina.jpg. Rename an appropriate JPEG image or edit this mesh file to use a different picture. carina.dsc(1KB, updated 21May2003 with a more accurate orientation for the detailed picture)# Eta Carina Nebula (detail) # # the "billboard" picture used with this definition is derived from # a NASA/STScI image found on the Web (see below) # Nebula "Carina" { Mesh "carina.3ds" Axis [ 0.517248 -0.0448043 0.854662 ] Angle 149.296 Distance 8000 RA 10.7454 # 10h 44m 46s Dec -59.6487 #-59deg 38' 56" Radius 4.55 InfoURL "http://hubblesite.org/newscenter/archive/2000/06/fastfacts" }
After you've installed these, your directory structure should look something like this:
[-] Celestia130
    --- data
    [-] extras
     |  [-] addons
     |      [+] billboard
     |      [-] Carina
     |           -- carina.dsc
     |          --- models
     |               -- carina.3ds
     |          [-] textures
     |              --- medres
     |                   -- carina.jpg
    --- models
    [+] textures
For an explanation of why your directories should be organized like this, please see- A (not so) Brief Introduction to Add-Ons (2nd edition)
| Image | Comments |
|---|---|
![[Earth in the Carina Nebula]](carina-earth.jpg)
Earth in the Carina Nebula |
This image was not generated by cheating, as a previous version was.
To see this and similar dramatic views, one only has to find the
right combination of viewpoint and telescopic magnification.
Aye, there's the rub.
Unfortunately, adjusting Celestia's viewpoint is extremely
difficult at high magnifications.
This image was finally acquired by first aligning the Earth's orbit
and then letting the planet drift across the field of view.
Cel:// URLs for Earth and the Nebula Each is progressively closer to the detailed Hubble picture. This looks best if you also install the definition below for NGC 3372. |
![[Carina Nebula Detail]](carina-2k.jpg)
Carina Nebula Detail |
This texture map was derived from a Hubble image showing details
of a portion of the nebula.
See the acknowledgements below.
|
5.3: Eta Carina Nebula: NGC 3372
- ngc3372-1k.jpg (241KB)
- ngc3372-2k.dds (5.5MB DXT3)
-
ngc3372.3ds (1KB)
-
This is the same 100x100x1 "billboard" mesh described
above. Only its texture has
been changed. It specifies the texture map
ngc3372.jpg. Rename an appropriate JPEG image or edit this mesh file to use a different picture. - ngc3372.dsc (1KB, updated 21May2003
with a more accurate orientation for NGC 3372)
# NGC 3372
#
# The accompanying images of NGC3372 were derived from 02192.TIFF
# at http://www.noao.edu/image_gallery/html/im0061.html
# Original tiff image credit:
# "National Optical Astronomy Observatory/
# Association of Universities for Research in Astronomy/
# National Science Foundation"
#
# According to http://www.noao.edu/image_gallery/copyright.html
# their images may be used freely for
# educational outreach activities composed by amateur astronomers.
#
Nebula "NGC 3372" {
    Mesh     "ngc3372.3ds"
 	Axis [-0.206916 0.153726 0.966206]
	Angle 154.5
	Distance   8500
	RA      10.7345
	Dec      -59.752
	Radius     219
	InfoURL "http://www.noao.edu/image_gallery/html/im0061.html"
}
After you've installed these, your directory structure should look something like this:
[-] Celestia130
    --- data
    [-] extras
     |  [-] addons
     |      [+] billboard
     |      [+] Carina
     |      [-] NGC3372
     |           -- ngc3372.dsc
     |          --- models
     |               -- ngc3372.3ds
     |          [-] textures
     |              --- medres
     |                   -- ngc3372.jpg
    --- models
    [+] textures
For an explanation of why your directories should be organized like this, please see - A (not so) Brief Introduction to Add-Ons (2nd edition)
Note:
- If you use both Carina Nebula definitions, combine both .DSC files into
one. Make sure that NGC 3372 is defined first, before Carina. That will ensure
that the larger image is drawn first, behind the smaller one.
- carina.zip (4MB, 21May2003)
The file
carina.dscin this zip archive includes the declarations for both NGC 3372 and the detailed Hubble picture of Carina.Archive: carina.zip Length Date Time Name -------- ---- ---- ---- 0 05-21-03 22:24 carina/ 0 05-21-03 22:24 carina/models/ 711 04-13-03 19:27 carina/models/carina.3ds 712 05-21-03 22:29 carina/models/ngc3372.3ds 0 05-21-03 22:24 carina/textures/ 0 05-21-03 22:24 carina/textures/medres/ 5592560 04-13-03 19:28 carina/textures/medres/carina-2k.dds 5592560 04-13-03 15:00 carina/textures/medres/ngc3372-2k.dds 1315 05-21-03 22:15 carina/carina.dsc -------- ------- 11187858 9 files
| Image | Comments |
|---|---|
![[Earth in NGC 3372]](ngc3372-view.jpg)
Earth in NGC 3372 |
Cel:// URL for this viewpoint: |
![[NGC3372]](ngc3372-1k.jpg)
NGC 3372 |
This texture was derived from the image
02192.tiff.
Credit: NOAO/AURA/NSF.
For details, see the
acknowledgements below.
|
5.4: Horsehead Nebula Region
- Pan and Orion
- Barnard 33 (vertical: North up)
- Barnard 33 (horizontal: West up)
- Closeup of Barnard 33
- horsehead_region-1k.jpg (1024x1204, 120KB)
- horsehead_region-2k.dds (2048x2048, 2.5MB)
-
horsehead_region-4k.dds (4096x4096, 11MB)
NOTE: Your graphics card must have a 4K texture buffer in order to be able to display this image. My understanding is that only Nvidia cards have 4K buffers. ATI cards do not. - b33.3ds (1KB)
-
This is the same 100x100x1 "billboard" mesh described
above. Only its texture has
been changed. It specifies the texture map
b33.jpg. Rename an appropriate JPEG image or edit this mesh file to use a different picture. - b33.dsc (1KB; updated 22May03 to improve its
orientation.)
#Horsehead Nebula in Orion
#
# the "billboard" picture used with this definition is derived from
#a photograph of the Horsehead Nebula Region taken by Walter Koprolin,
# Austria, Europe: http://www.nightsky.at/
#
Nebula "Barnard 33" {
    Mesh     "b33.3ds"
	Axis [ -0.641856 0.38352 -0.664029 ]
	Angle 132.636
    Distance   1600
    RA          5.69
    Dec        -2.35
    Radius     40.3
}
After you've installed these, your directory structure should look something like this:
[-] Celestia130
    --- data
    [-] extras
     |  [-] addons
     |      [+] billboard
     |      [+] Carina
     |      [+] NGC3372
     |      [-] B33
     |           -- b33.dsc
     |          --- models
     |               -- b33.3ds
     |          [-] textures
     |              --- medres
     |                   -- b33.jpg
    --- models
    [+] textures
For an explanation of why your directories should be organized like this, please see - A (not so) Brief Introduction to Add-Ons (2nd edition)
| Image | Comments |
|---|---|
![[Seeing Barnard 33 past Pan]](b33pan.jpg)
Seeing Barnard 33 past Pan |
Cel:// URLs for Pan and the Nebula:
Barnard 33 is also known as the Horsehead Nebula. The following are points-of-view to help align the other nebulae in Orion.
|
![[Horsehead Region]](horsehead_region-1k.jpg)
Horsehead Region |
These textures were derived from an
astrophotograph taken by
Walter Koprolin.
They are provided here
with his kind permission for use with Celestia. For details, see the
acknowledgements below.
These DDS files are in DXT1c format. They do not contain an Alpha channel. |
5.5: Some Planetary Nebulae.
- A (not so) Brief Introduction to Add-Ons (2nd edition)
| Image | Comments |
|---|---|
![[ 4 planetary nebulae ]](pn4.jpg)
Four Planetary Nebulae |
pn.zip (300KB, update: 25May03)
-
This ZIP archive contains
pn.dsc and four billboard models and their
associated pictures. They provide the planetary nebulae images shown
above. It was updated on May 25th to precisely align the images of the
nebulae.
After you've installed this archive, your directory structure should look something like this:
[-] Celestia130
    --- data
    [-] extras
     |  [-] addons
     |      [+] billboard
     |      [+] Carina
     |      [+] NGC3372
     |      [+] B33
     |      [-] pn
     |           -- pn-readme.txt
     |           -- pn.dsc
     |          --- models
     |               -- ngc2346.3ds
     |               -- ngc2392.3ds
     |               -- ngc2440.3ds
     |               -- ngc6369.3ds
     |          [-] textures
     |              --- medres
     |               -- ngc2346.jpg
     |               -- ngc2392.jpg
     |               -- ngc2440.jpg
     |               -- ngc6369.jpg
    --- models
    [+] textures
For an explanation of why your directories should be organized like this, please see
![[ngc 4622]](ngc4622.jpg)
![[ngc 4622 closeup]](ngc4622-visit.jpg)
![[ngc 4622 #4]](ngc4622-4.jpg)
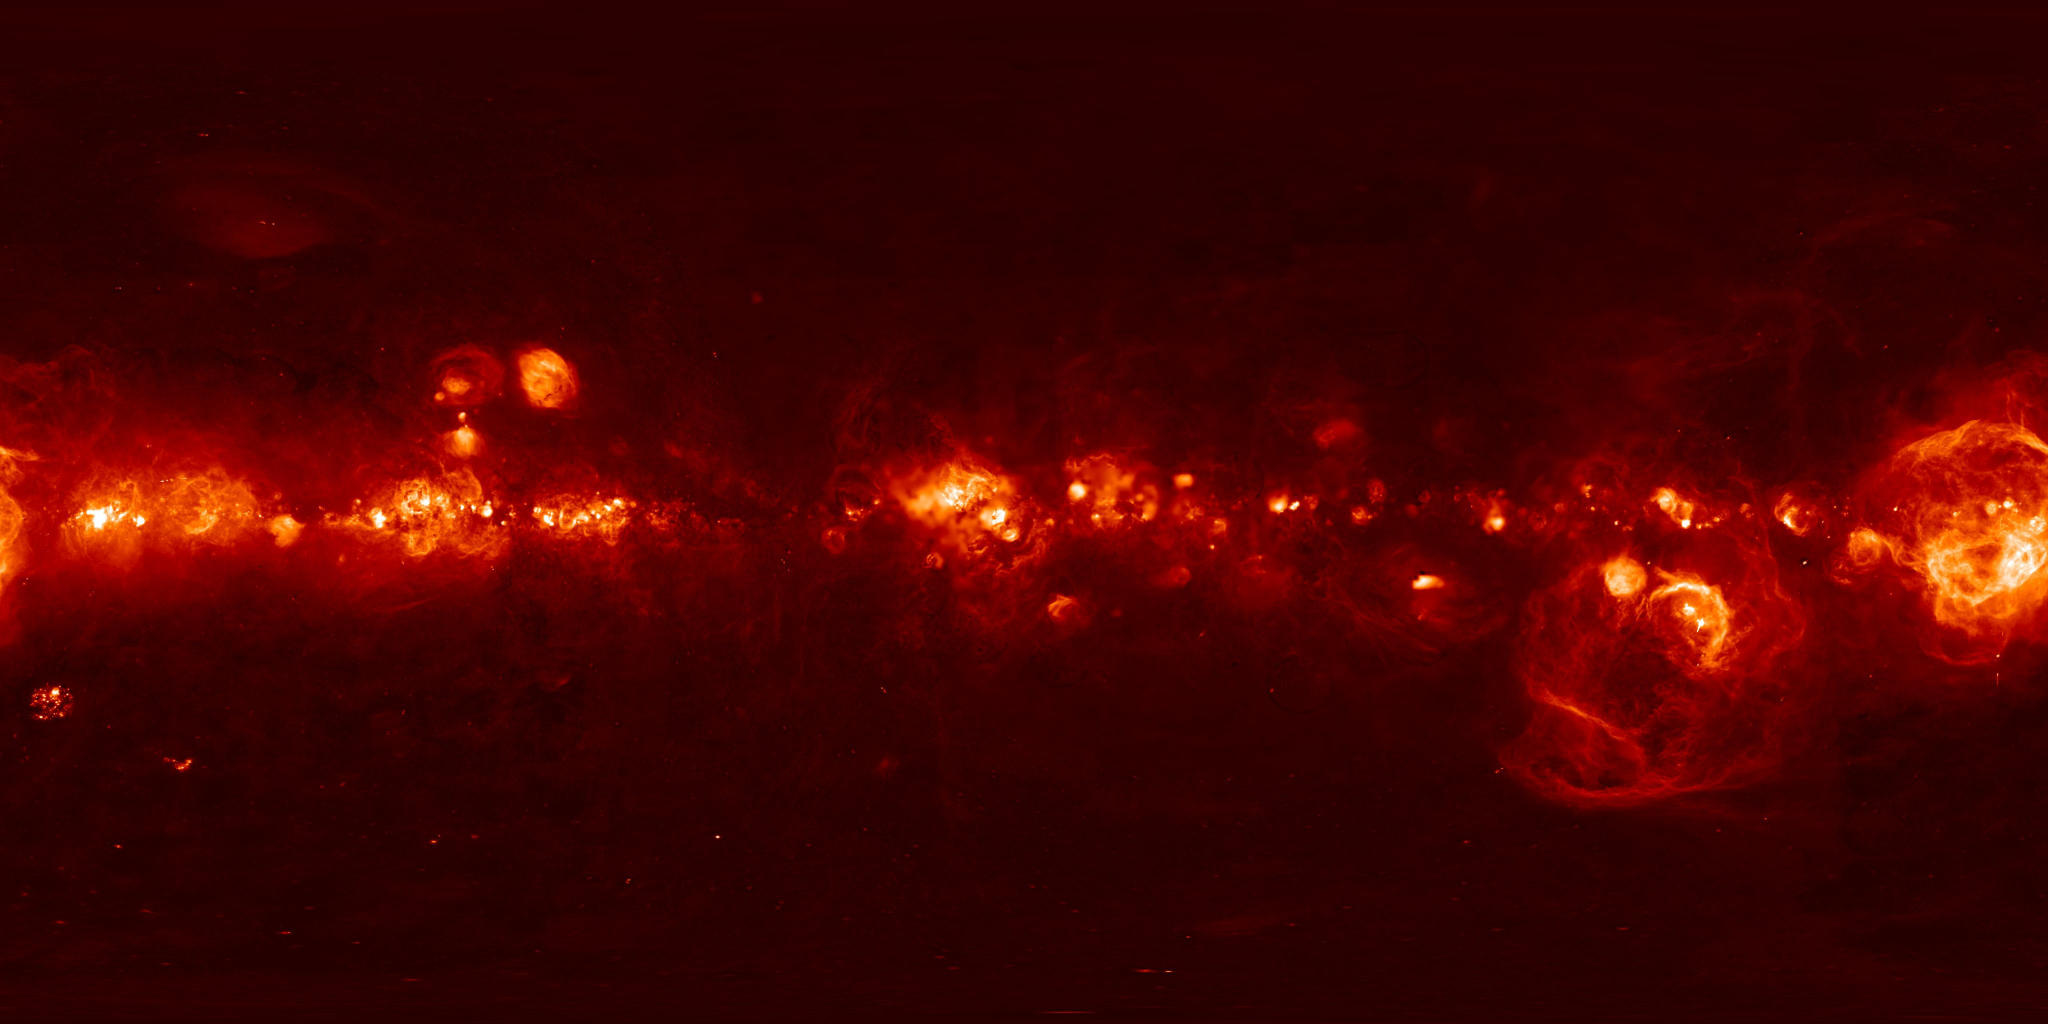
![[MSX IR Mosaic]](mw-msx-02.jpg)
![[The fire this time: MSX IR map of the Milky Way]](mw-msx.jpg)
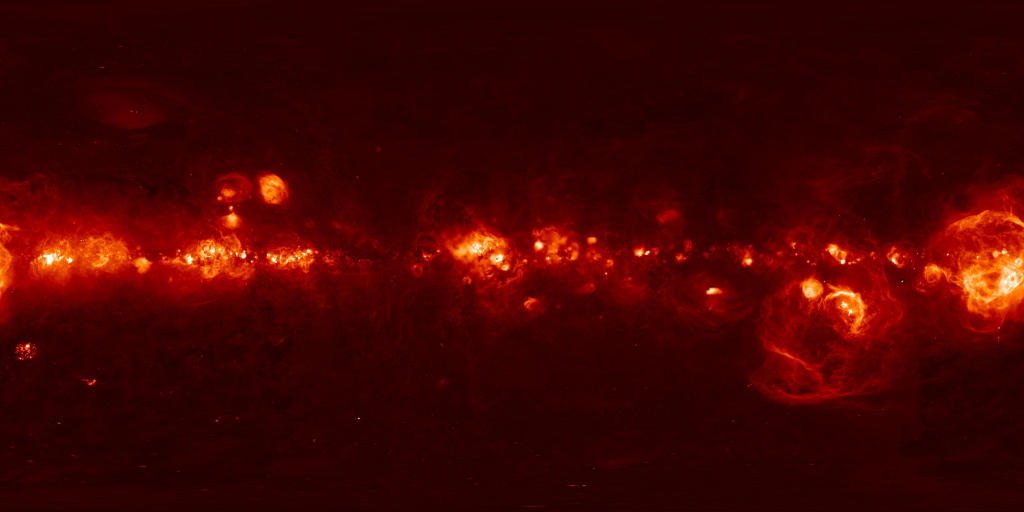
![[MSX IR Mosaic map]](mw-msx-2k.png)
![[h-alpha regions]](h-alpha.jpg)
![[h-alpha map]](h-alpha-a.jpg)
![[H-alpha in Orion]](h-alpha-orion.jpg)